The procedure for handling stabilizer bar ball joints primarily refers to the replacement process; the core steps involved are highly consistent across numerous authoritative automotive knowledge platforms.
Required Tools: A jack, wrenches (commonly size 16, 18, or 19–21 box-end wrenches), sockets, a screwdriver, a hammer, locking pliers, and paint remover or penetrating lubricant.
Safety Precautions: Park the vehicle on level ground, engage the handbrake, and place bricks or wheel chocks against the wheels on the opposite side to prevent slippage.
Lifting the Vehicle
Use a jack to safely and steadily lift the vehicle, ensuring that it is securely supported before proceeding with the subsequent steps.
Tire Removal (Depending on Vehicle Model)
If the ball joint location is obstructed by the wheel, the corresponding tire must be removed to provide sufficient working clearance.
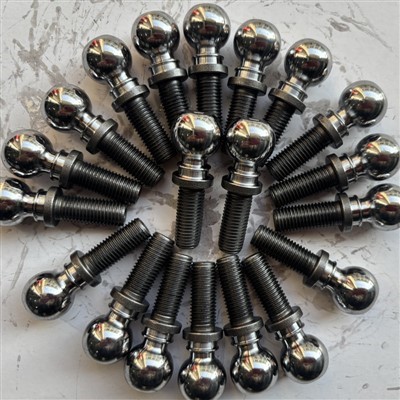
Locating and Removing the Old Ball Joint
Locate the stabilizer link ball joint (typically situated near the front shock absorber, with its upper end connected to the shock and its lower end connected to the stabilizer bar).
Spray a penetrating lubricant onto the nuts and allow it to sit for a few minutes to loosen any rust or corrosion.
Use an appropriate wrench to loosen the upper and lower nuts (on some vehicle models, a breaker bar or a pipe extension slipped over the wrench may be required to provide sufficient leverage).
If the nuts are stripped or the ball joint is seized, use a hammer to gently tap the assembly apart; alternatively, use locking pliers to grip the dust boot to assist in the removal process.
Installing the New Ball Joint
Compare the dimensions and structure of the new ball joint against the old one to confirm compatibility.
First, install the lower nut; then, use a jack to lift the outer end of the lower control arm (at the ball joint) to align the upper mounting hole (this step is required when replacing the ball joint on only one side).
Tighten both the upper and lower nuts, torquing them down to the specifications prescribed by the original manufacturer.
Reassembly and Inspection
Reinstall the wheels and slowly lower the vehicle.
Perform a four-wheel alignment (mandatory after replacement to prevent toe misalignment, which can lead to abnormal tire wear).
Road Test: Verify the absence of abnormal noises, and confirm precise steering, as well as the absence of drifting or vibration.