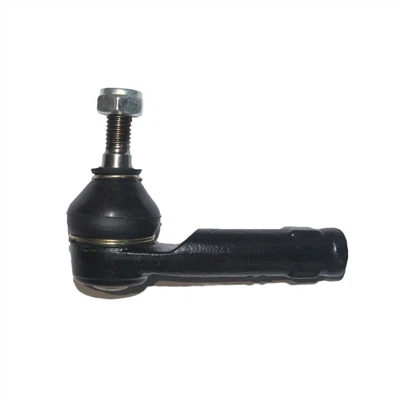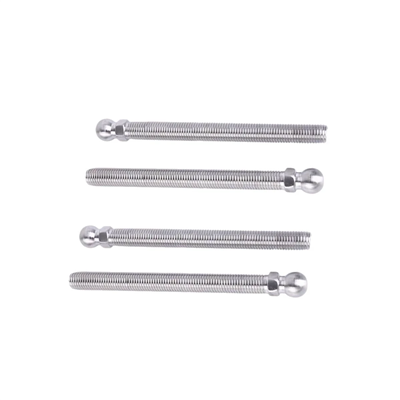

Hey there! As a supplier of Adjustable Ball Joints, I know firsthand how crucial it is to ensure the safety of their installation. Whether you're a DIY enthusiast or a professional mechanic, getting it right is super important. In this blog, I'll share some key steps and tips to make sure your adjustable ball joint installation goes smoothly and safely.
1. Pre - installation Checks
Before you even start the installation process, it's essential to do a thorough inspection. First off, check the Adjustable Ball Joint you've got. Look for any visible damage like cracks, dents, or signs of corrosion. A damaged ball joint can lead to serious safety issues down the road, so it's better to catch it early.
Next, examine the vehicle's suspension system. Make sure there are no other worn - out parts that could affect the performance of the new ball joint. For example, if the control arms are in bad shape, it might put extra stress on the ball joint and cause it to fail prematurely.
Also, gather all the necessary tools. You'll typically need a socket set, a torque wrench, a ball joint press, and a pry bar. Having the right tools not only makes the installation easier but also helps ensure that everything is tightened to the correct specifications.
2. Remove the Old Ball Joint
Now, it's time to get rid of the old ball joint. This step can be a bit tricky, so take your time. Start by loosening the lug nuts on the wheel that's on the side where you'll be working. Then, lift the vehicle using a jack and secure it with jack stands. Safety first, folks!
Once the vehicle is safely supported, remove the wheel. Locate the ball joint on the control arm. You'll usually find it attached with bolts or nuts. Use your socket set to remove these fasteners. In some cases, you might need to use a ball joint press to separate the ball joint from the control arm.
Be careful when removing the old ball joint. It might be stuck due to rust or dirt. Don't use excessive force that could damage the surrounding parts. If it's really stubborn, you can try using a penetrating oil to loosen it up.
3. Prepare the New Adjustable Ball Joint
Before installing the new Adjustable Ball Joint, make sure it's clean. Wipe off any grease or debris that might have accumulated during shipping. Check the threads on the ball joint and make sure they're in good condition.
If the ball joint comes with a grease fitting, it's a good idea to grease it up. This will help reduce friction and wear during operation. Use a high - quality grease that's suitable for ball joints.
4. Install the New Adjustable Ball Joint
Now, it's time to put in the new ball joint. Align it with the holes in the control arm. Insert the bolts or nuts and start tightening them by hand. Don't fully tighten them yet. You want to make sure the ball joint is properly seated before applying full torque.
Use a ball joint press to press the ball joint into place if required. Make sure it's seated evenly and securely. Once it's in place, use a torque wrench to tighten the bolts or nuts to the manufacturer's recommended torque specifications. This is really important because over - tightening or under - tightening can lead to problems.
5. Alignment and Adjustment
After the ball joint is installed, the vehicle's alignment needs to be checked and adjusted. An adjustable ball joint allows you to make some adjustments to the camber, caster, and toe settings. These settings affect how the vehicle handles and how the tires wear.
You can use an alignment tool to measure the current alignment settings. If they're out of spec, use the adjustment features of the Adjustable Ball Joint to bring them back into the proper range. It's a good idea to have a professional alignment done if you're not confident in your abilities.
6. Post - installation Checks
Once the installation and alignment are complete, do a final check. Make sure all the fasteners are tight and there are no loose parts. Check the ball joint for any signs of movement or play. You can do this by gently wiggling the wheel and feeling for any abnormal movement at the ball joint.
Lower the vehicle to the ground and take it for a short test drive. Pay attention to how the vehicle handles. If you notice any strange noises, vibrations, or pulling to one side, there might be an issue with the installation. Stop the vehicle and check it out.
7. Maintenance
To ensure the long - term safety of the adjustable ball joint, regular maintenance is key. Check the ball joint periodically for signs of wear, such as excessive play or leaking grease. If you notice any problems, replace the ball joint as soon as possible.
Keep the ball joint clean and lubricated. Grease it according to the manufacturer's recommendations. This will help extend its lifespan and keep it working properly.
Why Choose Our Adjustable Ball Joints?
We offer high - quality Adjustable Ball Joints that are designed to meet the highest standards of safety and performance. Our ball joints are made from durable materials and are rigorously tested to ensure they can withstand the demands of daily use.
We also offer a range of Heavy Duty Ball Joints for those who need extra strength and durability. And if you're looking for a Bolt On Lower Ball Joint, we've got you covered too.
If you're in the market for adjustable ball joints or any other related products, we'd love to hear from you. Contact us to discuss your requirements and get a quote. We're here to help you ensure the safety and performance of your vehicle.


References
- Automotive Repair Manuals
- Manufacturer's Specifications for Adjustable Ball Joints
- Industry Standards for Ball Joint Installation and Safety